
How To Root Sony Xperia Z3 Compact
October 11th, 2014

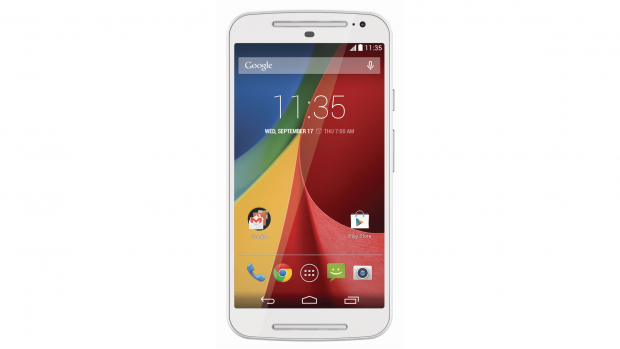
Yes, we proceeding well after unlocking your Moto G’s bootlaoder, and now we are going to install the custom recovery TWRP before rooting Moto G 2014. As you have got bootloader unlock, you should have not obstacle to proceed to install TWRP recovery. If you yet to unlock, then check out our bootloader unclock guide for Moto G 2014.
The custom recovery we going to install on your Moto G 2014 is the latest TeamWin Recovery project (TWRP). It is a fully touchable custom recovery and very common and handy to use. Let’s check out the installation guide.
Step 1: Make necessary data backup. Follow guide here.
Step 2: Follow Moto G 2014 bootloader unlock guide if you yet to do so. Install necessary USB driver here.
Step 3: Setup ADB and fastboot driver. Guide here.
Step 3: Download latest version of TWRP 2.8.0.1 custom recovery for Moto G 2014. Copy file TWRP2801-titan-motog-2014.img into C:\fastboot folder. Download also SuperSU zip file into your device (any location, recommend root of the device).
Step 4: Now power off your device.
Step 5: Boot device to bootloader mode (Press and hold power + volume down button)
Step 6: Connect device to PC with all drivers installed.
Step 7: Goto Windows Start button –> Type cmd in the Search programs and files box. Type cd C:\fastboot in the command prompt windows. (You must follow our setup guide, else you won’t be able to run steps above)
Step 8: In the command prompt, type in fastboot flash recovery TWRP2801-titan-motog-2014.img
Step 9: Once flash is complete, type in adb reboot recovery. This will bring you to the installed custom recovery.
Step 10: While you inside the recovery, select Install, locate your file and select it. Use Swipe to confirm Flash to flash the zip file.
Step 11: Recommend to swipe dalvik/cache before reboot system.
Step 12: To check whether you have root access, download root checker below to test.

.png)


October 11th, 2014

September 29th, 2014

September 17th, 2014

September 2nd, 2014

September 1st, 2014
