How To Root LG G Pro 2 Android 4.4 Kit Kat
LG G Pro 2 is the successor of LG Optimus G Pro which also equipped with larger screen display than ordinary smartphone. It is believe that LG G Pro 2 is the killer of Samsung Galaxy Note series with the similiar specification but yet priced at more affordable range. Being the flagship of Korean Tech Giant, LG G Pro 2 is indeed designed to suit customers’ demand on the larger display with small overall phone size. LG manage to do so by designing a ultra thin bezel for LG G Pro 2.
LG G Pro 2 is not only excel in hardware design but also giving a fresh new look in user interface UI compared to LG G Pro. Being now updated to Android 4.4 Kit Kat, improvement on performance and stability on LG G Pro 2 is noticeable. However, you will not satisfied by such improvement where enhancement is allowable after gaining root access to your device.
Without further ado, follow the step below to root LG G Pro 2 on Android 4.4 Kit Kat.
How To Root LG G Pro 2 on Android 4.4.2 Kit Kat
Disclaimer: It’s always a risk to modify your device. We, Android Teen are not responsible for any damage or bricks on your device. Your device warranty may void with any mod. Check your devices warranty’s term & conditions before start. (HTC,Samsung, LG, Sony, Motorola). Use this guide on your own risk, contact us for help if you face problem.
Pre-requisites & Requirements
- LG G Pro 2 running Android 4.4.2 (Ensure correct device model and firmware; Check device model – Go to Settings -> About Device -> Model Number)
- Windows-based computer or laptop
- Download LG G Pro 2 USB driver for Windows and install in your computer. (Installation guide)
- Connect device to computer with USB cable to complete installation.
- Skip this step if you have installed the USB driver.
- Enable USB Debugging on your device. How to Enable USB Debugging Mode on Android Devices.
- Make sure your phone is charged to 60% 80% to avoid battery blackout and interruption during this tutorial.
- We recommend you make a backup on your data and media files before the tutorial. You may restore the data and files if necessary.
- How to Completely Backup Android Without Root
- How to Backup Personal Data on Android Device (Contact, Application Data, Wifi Password, APN Settings)
- Backup SMS and Restore on Android Devices
- How to Backup WhatsApp Messages
- (Complete back up for rooted Android Devices)
Reminder: If you are first timer and Nexus 5 with bootloader locked, you need to make a full backup else you will lose all data. Ensure you meet the requirements before proceed. Contact us if you face problem.
Download
Instructions:
- Download tr.apk in your phone.
- You must allow the installation of 3rd party application in your phone. Go to Setting -> Security -> Unknown sources.
- Go to Download folder and install tr.apk.
- Open Towelroot app, you can find it in the menu.
- Click on the “make it ra1n”
- Now, your phone will be rooted.
- To check whether you have root access, download root checker below to test.
us or give us a if it works for you.
Useful Screenshot:
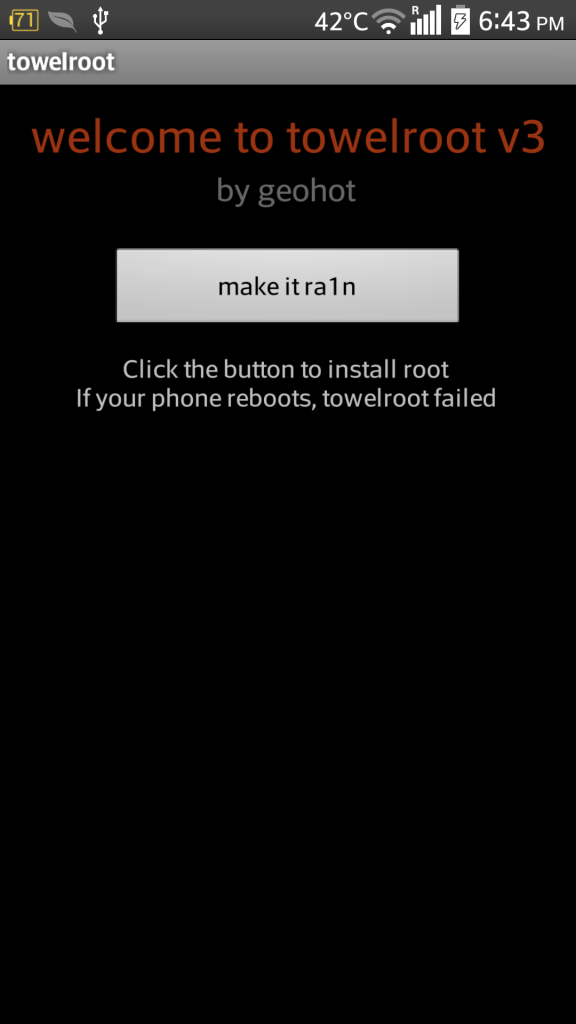

.png)