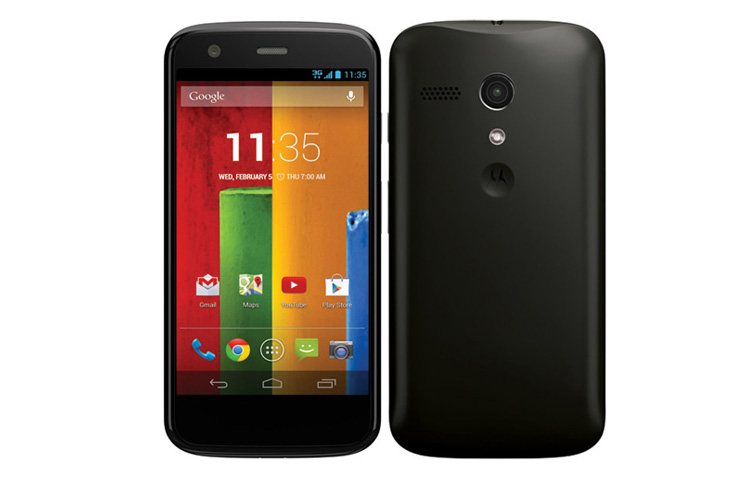
Install CWM Recovery on Moto G
I believe you have rooted your Moto G before reading the post below. If NOT, please proceed to our rooting guide for Moto G here. In order to install CWM recovery on Moto G, you must first unlocked the bootloader and rooted. Once you have done all the pre-requisite procedure, you may now follow the guide below to install CWM recovery. There are two type of CWM available, with/without touch capability. The steps is similiar for both CWM recovery but only different in recovery file used. It depends on your preference on which recovery to be used as make no difference in functionality of the recovery itself.
How To Install ClockWorkMod Recovery on Moto G
Disclaimer: It’s always a risk to modify your device. We, Android Teen are not responsible for any damage or bricks on your device. Your device warranty may void with any mod. Check your devices warranty’s term & conditions before start.(HTC,Samsung,LG, Sony, Motorola). Use this guide on your own risk, contact us for help if you face problem.
Pre-requisites & Requirements
- Moto G– unlock bootloader (Ensure correct device model and firmware; Check device model – Go to Settings -> About Device -> Model Number)
- Windows-based computer or laptop
- Download Moto G USB driver for Windows and install in your computer.
- Connect device to computer with USB cable to complete installation.
- Skip this step if you have installed the USB driver.
- Enable USB Debugging on your device. How to Enable USB Debugging Mode on Android Devices.
- Make sure your phone is charged to 60% 80% to avoid battery blackout and interruption during this tutorial.
- We recommend you make a backup on your data and media files before the tutorial. You may restore the data and files if necessary.
- How to Completely Backup Android Without Root
- How to Backup Personal Data on Android Device (Contact, Application Data, Wifi Password, APN Settings)
- Backup SMS and Restore on Android Devices
- How to Backup WhatsApp Messages
- (Complete back up for rooted Android Devices)
Reminder: Ensure you make a backup before proceed. Unlock bootloader will erase everything inside your device. Besides that, ensure you meet the requirements before proceed. Contact us if you face problem.
Download
- CWM
- CWM Touch –Source (Thanks to a1Pha)
Instructions:
- Unlock Moto G bootloader. Proceed to official Motorola website and unlock your device.
- Proceed after you have successfully unlocked the bootloader.
- Setup fastboot in your computer if you do not have it. (How to setup ADB and Fastboot driver with Android SDK). Skip if you have done in Step 1. Fastboot will normally used to transfer files such as kernel to your device, unlike the normal USB transfer, Fastboot requires certain command code.
- Once you have completed the setup, copy adb.exe, AdbWinApi.dll from C:\\android-sdk-windows\platform-tools and fastboot.exe in C:\\android-sdk-windows\tools to a new folder at the desktop, renamed it as fastboot.
- Download CWM or CWM Touch to the fastboot folder. Rename the downloaded file to recovery.img.
- Power off your device completely.
- Enter Fastboot Mode by press and hold Power and Volume Down button.
- On the computer, open Command Prompt windows. (To Open Command Prompt –>Windows Logo–> Type CMD in search box –>Enter)
- Type cd C:\fastboot in the command prompt windows to navigate to your fastboot folder. Else, you can directly open command windows with destination set to C:\fastboot by pressing Shift+Right Click Mouse on the fastboot folder, then select Open Command Windows here.
- In the command windows, type
fastboot flash recovery recovery.img
to flash the kernel file to your device.
- Press and hold Power button to turn off your device.
- Your device is now installed with ClockWorkMod recovery. We recommend to perform NANDROID backup with CWM.
us or give us a if it works for you.


.png)


